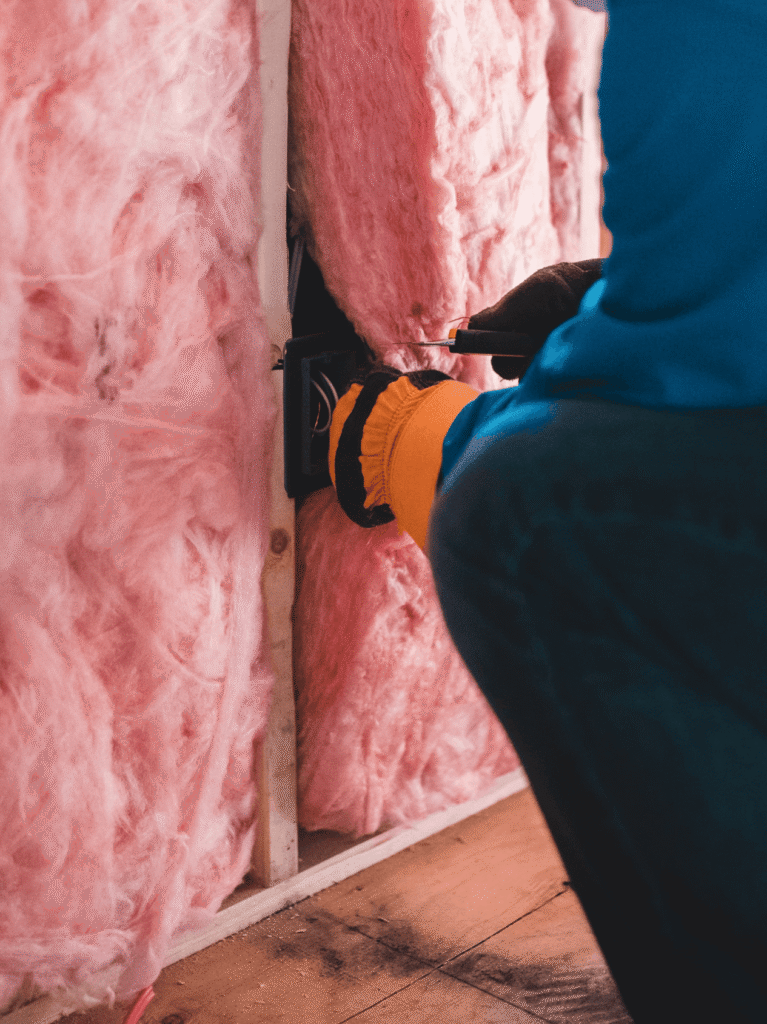
If you are finding it difficult to stay warm in an older home with solid walls, you may have thought installing internal wall insulation (IWI). This is particularly likely if your home is detached, semi-detached, or if you have any rooms with two or more external walls. As you may have experienced, the rear bedrooms of terraced houses can get very cold in winter, particularly if there is no access to the loft above (and therefore no, or only a little, roof insulation).
Before you embark on the installation of IWI, there are several factors which need to be taken into consideration. These include your previous experience of DIY, the type of insulation and thickness needed to make a noticeable difference, thermal bridging (explained below), Building Regulations and ventilation.
Previous DIY experience
There are several DIY skills that you will need, or be willing to acquire, if you are going to install IWI. This also depends on the type of system you plan to install and what is already on the walls. These include:
Carpentry – to cut and fix wooden batons to attach the insulated plasterboard to or to create studwork to fill with fibre insulation, hang radiators from, and cut and refix skirting boards, dado rails etc.
Plumbing– if the external walls to be insulated have radiators hung from them these will need to be removed and the pipework adjusted to account for the greater wall thickness. Plumbing skills are also required if IWI is going to installed in any wet rooms. In kitchens, sinks, washing machines, dishwashers etc. on external walls will need to be replumbed, as will sinks, toilets, baths, and showers on external walls in any bathroom. Finally, it may also be necessary for the boiler to be temporarily removed so that the insulation can be continued behind it before it is reinstated. In this case a flue extension kit will also be required.
Electrical – any light switches, sockets, wall lights etc., will need to be moved inward so that they are not hidden under the new IWI.
Plastering – once the insulated plasterboard or other IWI has been put in place, it is likely that the insulated wall will need a skim coat of plaster. There may also be bits of damaged plaster elsewhere that will need to be fixed up.
Decorating – once the IWI has been completed, the rooms affected will need to be redecorated – maybe just the one wall, although the install of IWI is often a trigger for the decoration of the whole room.
The Type of Insulation
Older homes made of brick or stone are air-permeable, although there is a wide range of permeability amongst different types of stone. Amongst the most permeable are sandstone and limestone; the least are igneous rocks like granite.
If older homes are insulated with non-permeable rigid insulation boards made from materials such as Phenolic Foam, Polyurethane (PUR), Poly-isocyanurate (PIR) or Expanded Polystyrene (EPS) it will be necessary to install a vapour barrier as well to avoid moisture becoming trapped within the wall.
Installing an effective vapour barrier is technically difficult to achieve, with the need to tape around all edges to stop any air finding its way behind the vapour barrier and the wall. An intact vapour barrier is also difficult to maintain over the years; later work to the property can result in holes being cut through external walls by owners and tradespeople unaware of the vapour barrier and its need to stay intact.
For these types of properties, a vapour permeable material such as wood fibre (cellulose), glass wool, mineral wool or sheep’s wool is a better option. However, there is still a risk of condensation forming on the inside of the original wall, as the passage of air is slowed down and the inside surface of the original wall is cooler than it was before. Advice on how this can be best avoided should be taken from the insulation manufacturer or a suitably qualified building professional (such as a PAS2030 certified installer).
Thickness
To comply with the Building Regulations (more on this below) the insulated wall should achieve a u-value of 0.3W/m2 and realistically 0.2W/m2. The U value of a material is the rate at which heat (in watts) is lost through each square meter of the surface. A lower figure means more warmth can be kept in, so the lower it is the better.
You can normally expect rigid insulation board to be between 60 and 100mm thick, which can be a lot of space to lose in narrow rooms. Insulation materials such as mineral fibre have higher u-values meaning that a greater thickness is required to get the same benefit. In the case of mineral fibre, you can expect the thickness required to be at least 120mm. Thinner permeable insulation materials with very good thermal performance are available, but these come at a cost and are best used on walls where thicker insulation would cause an issue, such as window reveals.
Thermal Bridging
Thermal bridges, also known as cold bridges, are found in buildings where there is a significantly higher heat transfer than the surrounding materials. This can happen if part of a wall is left with no insulation or less insulation than the surrounding area, making it colder, and resulting in condensation and mould.
To avoid thermal bridging, it is important to ensure that all the external walls are insulated with materials with the same thermal performance. This includes the window reveals mentioned above, plus the space between the ground floor ceiling and first floor, and what is known as a return on the internal walls, where they meet exterior walls: this means insulation should be continued at least 150mm into the room along the internal wall. For aesthetic reasons, a greater width is sometimes used e.g., across the back of an alcove, to avoid a ‘step’ across the middle of it.
Building Regulations
As set out in Approved Document L, Conservation of fuel and power, Volume 1: Dwellings making significant changes to thermal elements (walls, roofs, or floors) normally requires Building Regulations approval and the thermal insulation of the element to be upgraded to a u-value of 0.30W/m2, although there are exceptions. These are set out in 4.13 of Part L and include it not being technically or functionally feasible, or if improving the thermal performance would not achieve a simple payback of (divide the cost of the insulation by the annual saving in heating costs) 15 years or less. A reduced thermal performance following insulation is also permitted ‘if meeting the standard would reduce the internal floor area of the room bounded by the wall by more than 5%…’
Building Regulations also require that the whole of a thermal element (e.g., one external wall) should be improved if more than 50% of the element is improved.
For further information please refer to Approved Document L or speak to the Building Control Officer at your local council. Applications for Building Regulation approval are also made to the local councils.
Ventilation
An important consideration when improving the insulation to your home is ventilation. Improved insulation is likely to result in reduced air flow. This will need to be managed in accordance with the maxim ‘insulate tight, ventilate right’, particularly if multiple improvements are being made as a part of a whole house retrofit. As it’s such a big topic, ventilation will be the subject of one of our future blogs.
Conclusion
DIY IWI is possible, but doing so properly requires a wide range of skills, likely only to be found in someone with an abundance of DIY experience. Otherwise, it is necessary to pay someone to do the work for you as IWI is probably best left to a professional installer.
Overall, whether you are looking to do the work yourself or hire a trained professional, a Whole Home Retrofit Plan (WHRP) is the best first step to take when looking at retrofitting your home. This ensures that you are making the most essential changes to your home, in the correct order, to the highest standards possible. If this applies to you, please look at joining our SuperHomes Network and let us know that you’d like some more information regarding a WHRP – we are always happy to help, and our expert Retrofit Coordinators are on hand to provide you with the information you need.